 |
| me with a towering artichoke plant |
Artichokes are an exception for a couple of reasons. They can be grown as a perennial. This lets you start them very early or overwinter them, and they get off to a rapid start because they've got a great root system already in place when the growing season starts.
Also unlike most long season vegetables, artichokes are eaten as immature flower buds. If you think of growing artichokes as growing a massive and greedy flower, you will succeed.

 |
| You don't see this purple much in nature |

Artichokes take about 10 square feet per plant, so you do need to plan for them in the garden. Again, treat them as an ornamental and put them somewhere where they can be appreciated.
They have great, textured silvery leaves all year in mild climates, and if you don't harvest all the chokes, the ones you leave behind will open into gorgeous purple flowers.
Each artichoke plant makes somewhere from three to a dozen chokes.
The first one is largest; when you cut it, it's followed by a set of smaller ones, and sometimes a third round that stays small and cute, perfect for marinated artichoke hearts.
If you don't harvest most of the chokes, the weight of the buds flowers will pull the whole plant over. So go ahead and eat them.
Actually, before you eat them, soak the freshly picked artichokes for twenty minutes in water to which you've added the juice of a lemon and a teaspoon of salt.
 |
| An earwig running out of an artichoke |
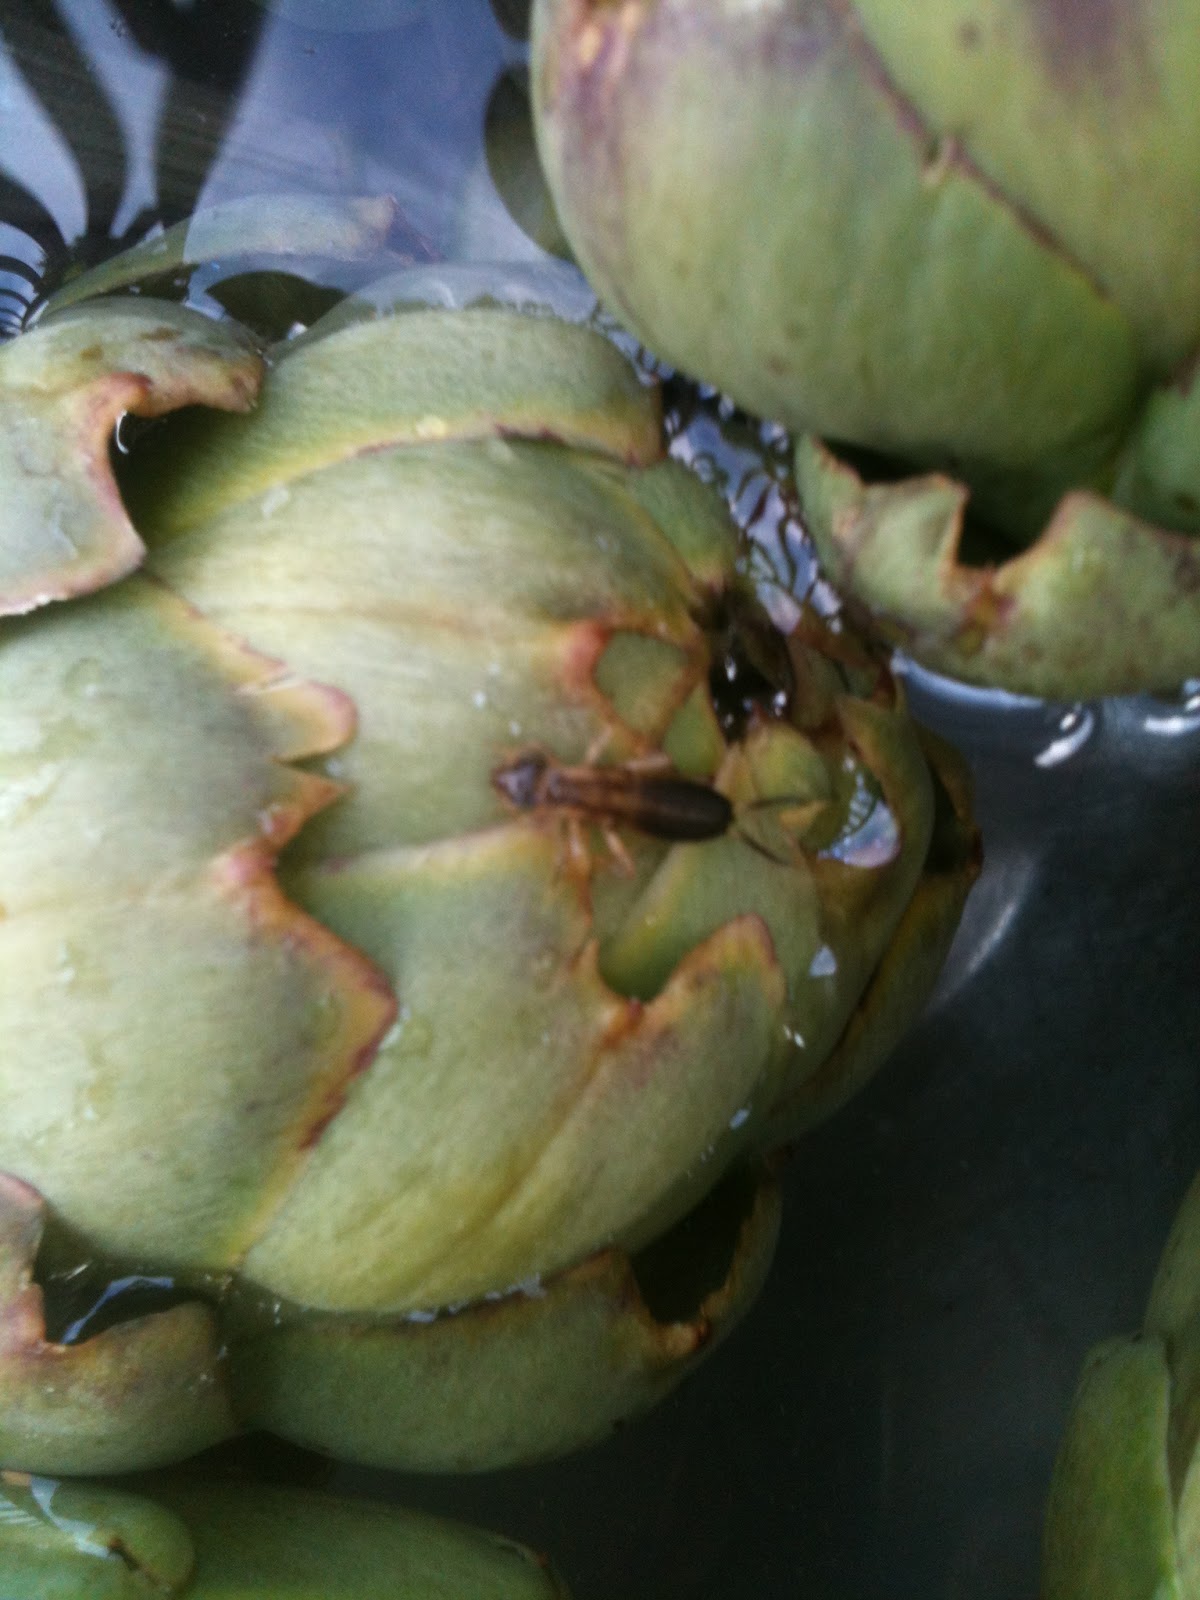
As they soak, any bugs hiding between the leaves will climb out and seek refuge on top. You can either destroy them or (if you're a bug geek like me) return them to the yard.

After soaking the artichokes, you can boil them whole. This is nice for decadent eating with homemade mayonnaise. But honestly I find it tedious to eat them leaf by leaf, so I usually prep them first, keeping only the good part.

Prepare a bowl of cold water with the juice of a lemon, and save the lemon halves. You need something acidic to treat freshly cut or broken surfaces otherwise the artichoke will discolor.
Start breaking off leaves, trying to snap them off near the base but leave the edible bit at the bottom. Work your way around the choke, occasionally stopping to rub the broken surfaces with the lemon halves.
When the yellow inner leaves are visible, you've hit the part where everything is edible.
Take a paring knife and cut away the tops of the leaves, leaving as much of the pale greenish yellow leaf as possible. In the middle, the whole leaf is tender and good.

If you have very small artichokes you can eat everything in the center.
Bigger ones have a nasty bit in the middle called the choke. You have to cut them in half and remove it.
I cut most of my artichokes in half anyway to make sure there are not bugs inside. If you are bothered by bugs in your food, this is a good time to let go of that. It's a small price to pay for eating organic artichokes grown at home.

Recipes:
Artichokes with mayonnaise or yogurt
(this recipe contains raw eggs. Due to concerns about salmonella or just the extreme amount of oil you may choose the alternate sauce option)Ingredients
1 large or 2 small artichokes per personOption 1
1 fresh egg
1 cup neutral flavored oil
1/4 cup nice extra virgin olive oil
1 small clove garlic
1/4 t salt
1/2 t mustard
2 T lemon juice, or to taste
Option 2
1 cup Greek yogurt
2 T extra virgin olive oil
1/4 t salt
1 small clove garlic
Instructions
Place artichokes in a large pot and cover with cold water. Heat to boiling on medium heat, them simmer 40 minutes or until a leaf pulls out easily.Meanwhile, make the sauce. For mayonnaise, crush the garlic and the salt together and place in a bowl.
Add mustard and egg, and stir to combine.
Place the neutral oil in a pitcher with a pouring spout. Stirring constantly, add the oil a bit at a time in a stream. It should immediately disappear into the mixture. Pause from time to time and stir to make sure it's all combined.
Once all the neutral oil is added, stir in the olive oil. Then add the lemon, and check for flavor. Refrigerate after mixing.
For yogurt sauce, crush together the garlic and salt. Place in a bowl and stir in all the other ingredients.
When the artichokes are ready, drain them. Turn them pointy side down and let them steam and drain for ten minutes or they will be soggy. This also lets them cool down, since they are finger food.
Place artichokes on the plates of each diner, and pass the sauce. Make sure you have a bowl or bowls for the inedible part of the leaves. Pull the leaves out of the choke one by one. Dip the bottom of each leaf into the sauce, and with your teeth scrape the sauce and the edible portion of the leaf into your eagerly waiting mouth. Yum.
This recipe will serve up to ten. The limit is how big a pot you have. But as you cook more artichokes, they will take longer to come to the boil, so plan accordingly. The sauce is rich and should be eaten in moderation.
 Roasted Artichokes

Ingredients:
8 small artichokes, trimmed and cut in half as above2 lemons
1/2 t salt
2 t olive oil
1 clove garlic
Instructions:
Squeeze lemon juice into a bowl of cold water. Soak artichokes for 20 minutes. This will reduce any bitterness, which is a problem with some artichokes.Preheat oven to 425
Chop garlic.
Drain artichokes and toss with salt, oil and garlic
Spread artichokes on a cookie sheet or pan. There should be room between them
Roast ten to fifteen minutes until golden underneath. Flip them over and roast another ten minutes.
Serve immediately, with lemon wedges to squeeze over.
Serves 4 as part of an appetizer plate or I can eat them all myself. This dish actually works for most vegetables.
Marinated artichoke hearts
Ingredients:
8 Artichokes, pared and halved
1/2 t salt
3 T olive oil
1 t fine vinegar (you will taste it, you should like the taste)
Juice of 2 lemons, plus the cut halves of one of the lemons
1 small garlic clove, crushed
Seasonings of your choice, such as tarragon, coriander seeds, or fennel
6 black peppercorns
Directions:
Place the artichokes in a pot of water to cover, and add the juice of one lemon. Throw in both lemon halves too.Bring to a boil then simmer just till tender when pierced with a sharp knife tip
Drain
While still hot, toss with all the other ingredients.
Refrigerate. Let rest 24 hours before serving. However these are meant to serve, not to keep indefinitely.
Besides they're delicious and shouldn't be horded, but rather enjoyed.

Shared on: homestead-barn-hop-115


