 |
| Meggie - before milking |
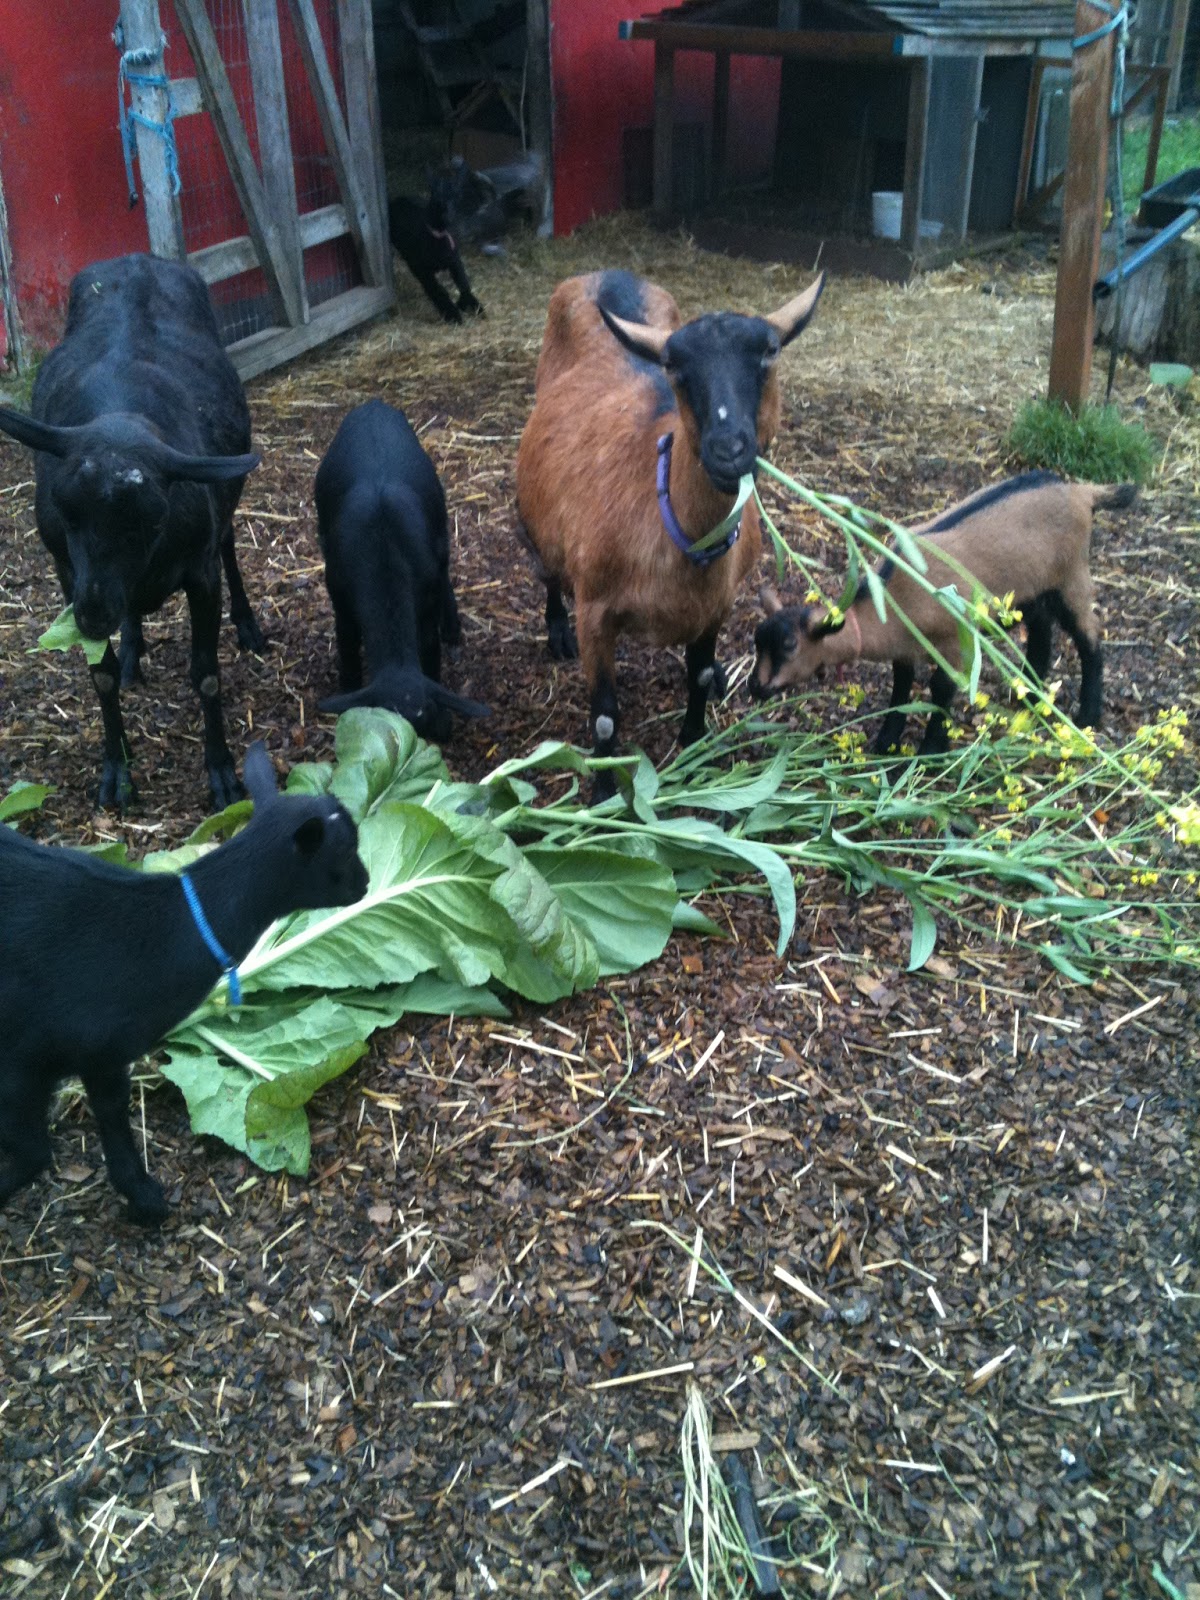
Meggie in particular is so undemanding. The other goats and the chickens vie for attention; milking is the one time of day she gets my undivided focus.
She is eating, which usually makes goats happy, but she seems to also relish the time spent together.
She is actually more OK with me milking she was with her own babies after a certain age.
When I milk I do everything I can to keep myself and the goat calm, focused and happy.
I pat the goat, feed her, sing to her, and listen to her tummy gurgle contentedly as I milk.
 |
| Doesn't this look more comfortable? |
But my tendons are another matter. After six years of milking , my wrists started to hurt.
I couldn't squeeze water out of a sponge without excruciating pain. My friend Mellow gave me some exercises to help, but I knew the real answer was to give myself a break from the repetitive motion.
When we saw a DIY milker featuring a vacuum pump designed for brake bleeding, we knew we had to try one ourselves. This is a manually powered pump, so I wasn't sure it would reduce the stress on my arms, but if I didn't try it, I was in danger of becoming totally unable to use my hands. So, we got the parts and made one. Here Noah tries it out (with soapy water and food coloring).
 |
| Noah pumping soap/food coloring to learn how it works |
Basically, the vacuum pump is connected by a 3/8" tube to the lid of a jar. A second tube connects to a pair of "teat cups", AKA two 60 cc syringes, which fit over Meggie's teats and form an airtight seal. The tubing is connected with aquarium airline connectors.
 |
| Milker setup |
I was excited to try this system, but I found myself putting it off day after day. Which anyone who knows me will say is odd. Usually I'm someone who can't wait to try a new contraption.
I was having a hard time accepting that this less 'natural' system would be as gentle as my hand milking. Part of me was sure the syringes would either hurt Meggie, or suck her entire udder into them. Or at least, that she would resent me for using a machine for such a personal thing as drawing her milk.
 |
| You're squeezing our teats with a what?!? |

 Neither one happened.With some trepidation, I sprayed teat cleaner on Meggie's udder, wiped her clean, and set up the contraption.
I placed the cups on her teats, awkwardly holding them in place, and pumped the suction up to 10.
The teat only was pulled into the syringe until it formed an airtight seal, but no further. It appeared perfectly comfortable.
 Meggie went on eating serenely as her milk began to draw down the tubing and into the jar. First a trickle, then a steady stream.
I have said it before.Meggie is the ideal goat. She is productive, calm, cooperative and gentle. I call her bomb proof. But I had expected some kind of reaction to having plastic cups suctioned onto her udder.
Nope. Nada. Nil. She just kept calm and carried on.

I don't think the phrase "kick the bucket" was coined to mean "to die" by accident. After hand milking an animal and having her spill, kick, step in or poop in her milk, a person might be ready to do something extreme.
But in our case, it's surely not Meggie's fault. Meggie's legs occasionally cramp from standing still, and she picks her feet up. Once in a while, she used to put them in the bucket of milk, ruining it.
With the milking device, this will be a thing of the past. nothing to kick over!
Another advantage to a milking device like this is, the milk never touches anything but the inside of the tubing and the jar. A barn, no matter what, is a barn. Spiders, straw, goat hair, flies in summer, dust, and you can imagine other things all end up there. Hand milking controls as much of the mess as possible, but the milker gives much more assurance that the milk will be clean. I love that. Even more, I love that once its going, I can step away from the milking process, at least long enough to get a picture of my happy, busily eating goat.

Then I bring the milk inside and put a new lid on the jar. I put the jar in an ice bath, clean the milker, and voila. Another batch of milk. A milker would be especially nice for anyone with a goat who had funny sized teats, or for anyone who, like me, found her hands getting tired from milking. So far, the repetitive movement of pumping the milker has been just fine. And the milk is splendid.

14 comments:
My sympathies for your tendons. I had a little of that myself a couple of months ago.
Hi! I'm visiting from the Backyard Farming Connection Hop. That's a very interesting system. I wonder if my ladies would go for that? www.greeneggsandgoats.com
Heather I didn't think Meggie would be as immediatly calm as she was. I expected a week or so of awkward transition. There was none - or just the part on my end where I was learning how to do it. She just munched on her chow and let me milk her.
I think it's worth a try.
You have such a clever David in the house! Thanks for sharing this, Sarah. I bought a hand milk pump last year and it did not work out so I returned it. I'm wondering how you clean out the lines each time? That seems to me like the biggest pain in the rear.
If you are in the area (Sustainable eats is) I can probably put together a similar one with pieces left over if you want to try it. The pump is the big spender item but everything else is really simple.
Very cool indeed! I would love to see it in action (and get a parts list). Does your little farm allow visitors?
What a great way to continue your lifestyle, while saving your health :)
I've always wanted goats, but haven't tried raising them yet.
I would love to have you join us at Wildcrafting Wednesdays!
http://www.theselfsufficienthomeacre.com/2012/12/wildcrafting-wednesday.html
New fan here from Frugal Days. This looks so good. I will definitely be trying it. If you haven't already, I would love for you to come visit me at Fresh Eggs Daily and share at my weekly Farm Girl Blog Fest: http://fresh-eggs-daily.blogspot.com/2012/12/farm-girl-friday-blog-fest-12.html
Happy Holidays!
Lisa
Fresh Eggs Daily
That milker looks great! Thanks so much for sharing this idea! In the 13+ years that we've been milking we've always shied away from milkers because they're electric (not sustainable and now we are off-grid), the cost, and clean-up required. But this is definitely more sustainable and I'm guessing not nearly as expensive.
Would you mind sharing where you got the plans for this? And how you clean it after each use? Do you not have to strain/filter it now? How long does it take to milk one goat?
Sorry for all the questions. I'm so glad you found a solution for your wrists (other than getting rid of your goats). You must be a true homesteader. :)
Could you explain what apparatus connects it securely, and air-tight, to the lid?
Thanks for sharing on Wildcrafting Wednesdays!
I think I will do a follow up story - a parts list and assembly story, instead of trying to do that here. Clearly, the world needs more DIY milkers.
There are a couple of hand milkers available for purchase, but since all the materials are at the hardware store, I say give it a whirl, folks!
s
This looks so simple. Did you have to do anything special to get the tubing to seal at the can lid? I have Nigerians. I should probably use a smaller syringe.
Josh www.goatsinthecity.com
Hi Josh. I did a follow up story, http://severalgardens.blogspot.com/2012/12/goat-milker-details.html
that gives way more detailed information. The comments after the story show the various fixes that readers have found, and are definitely a big help for anyone starting this project.
Post a Comment