Showing posts with label fun. Show all posts

Saturday, March 30, 2013

A big step for Several Gardens Farm

From the day we moved to Several Gardens Farm, one thing was obvious. In true farmhouse style, guests come to the back, kitchen door, not the front guest entrance. When we entertain, people gather in the kitchen, and stay put in the one room where they started. The more guests, the more crowded the kitchen, because no one ever wanders beyond.

The front entrance, the formal door, is only used by people who do not know us: kids selling candy, folks with religious tracts, meter readers, pizza delivery, etc.

And Halloween ghoulies, of course. Each year, intrepid children stagger up the grassy hillside to our dark, imposing house.


The back porch has a clear, simple pathway.

The path to our front door. Nice huh?

The front has a steep, grassy hill to clamber up, and dark, narrow, walkway.


We can make the door inviting once you get there but the property does nothing to get you there.

We have always wanted to modify this, but it's been a little unclear how.

Above all we needed stairs, but that was easier said than done.


Until the day we got the great deal on ten stone slabs from a  demolished building. The stones were big rectangles with rough faces. Perfect risers for stairs cut into the hillside.

The prospect of cutting into said hill, and setting the stones in it, kept holding us back. The stones weigh at least 120 pounds each. They were stacked at the top of the hill and would have to be lifted and settled into place. In addition, we feared doing the job badly and ending up with ugly, slippery, unwelcoming steps.


But we have a tractor, and that helps cut back on the physical labor. So on an early spring day, the sun was shining and we decided to jump in. Well, do some math and then jump in.

We measured the rise of the hill = 34". The run from start to end following the shortest path was 140". The steps were each 4" high, so we needed eight of them to get our height, with 2" left of height to figure out. If we used eight steps, each needed to be 17" deep.


Our stones were long enough, just barely. We then had the idea of slightly curving the path. This would lengthen it a bit, which was fine, as we had extra stones. The extras would be used as path, like stepping stones bedded on grade with no gain in elevation. The curve would let us meet the sidewalk straight on, as it follows a slightly different curve than the driveway below.

So we excavated a spot for the first step. We dug down below grade and filled in with sharp gravel. This lets the stone settle in very smoothly and lay really flat. The first an second stones went in well.

But by the third stone we noticed a problem. The bottom of the steps was the concrete rim of the driveway. The driveway is on a slope, so the rim itself is not level.

We had measured from the top - but there was a difference from top to bottom.


The top walkway is also sloped. We miscalculated our rise! Luckily the mistake worked in our favor because we had the extra stones. We backed down the driveway till we had a rise of 36" and used stone 9 as a stair instead of a stepstone.


Once the steps were in place, the hill is much easier to navigate. Perhaps we will add hand rails or a row of solar powered lights.

Next we should add some pretty flowers along the sides, to hold the earth in place and mark it out as a walkway.

It remains to be seen if more people start coming to the front door, but I feel that they certainly will.

And I know for a fact that we will.


Thursday, March 7, 2013

Yogurt becomes sublime

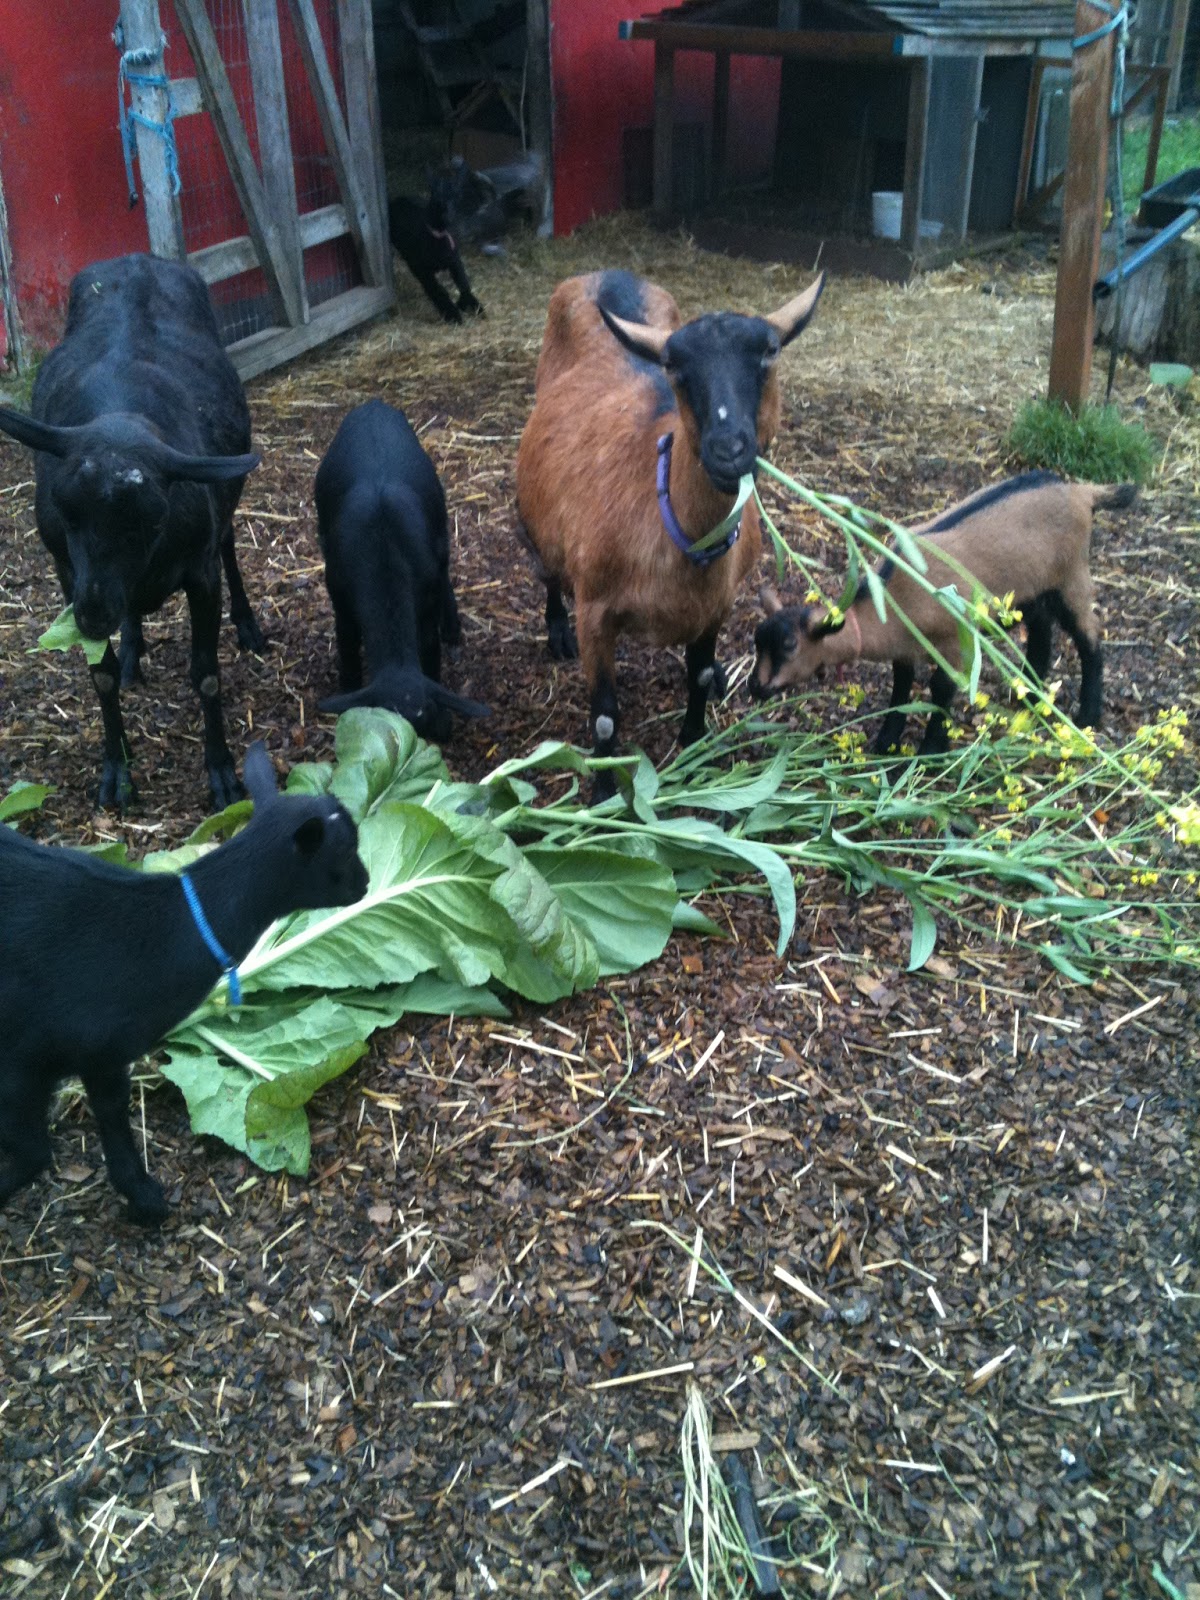
With Meggie the goat giving abundant milk, our home is never without yogurt. Our yogurt is made without extra dried milk, stabilizers, gelatin, or other additives. Just milk and starter. It is thinner than the kind you buy, too thin to scoop out of the container. Straining if for a few hours yields thick, creamy, Greek style yogurt, plus whey to feed the animals or bake with.

Every day I cut up fruit for breakfast, spoon on yogurt, and drizzle on honey. And every day I wondered if the honey could be mixed in earlier in the process.

Most honey from the store is pasteurized, but at Several Gardens Farm honey is raw, never heated above body temperature.This allows it to keep all its delicate floral profile,but it crystallizes in our cold house. I got tired of our honey's grittiness and inability to mix well with the yogurt.  It forms sweet, sandy lumps, cloyingly perfumed. I  miss the smooth texture, though not the bland taste, of store bought honey.

So as an experiment I mixed the honey in with the milk before I made the yogurt. I also tried a batch of chocolate yogurt. I wasn't sure how it would work. Perhaps the enzymes would interfere with thickening?

Who cares. I am always up for trying something.

Recipe - honey yogurt and chocolate yogurt

Ingredients:

2 quarts milk - we use raw goat's milk
1.5 teaspoon yogurt culture, or 1/2 cup cultured yogurt
2 - 4 tablespoons honey, to taste
Chocolate syrup to taste

Directions:

Place the milk in two, one quart mason jars.


Immerse jars in water to their necks in a saucepan large enough to hold them comfortably

Heat gently until the water just boils. Turn heat to low and simmer  until milk temperature is 175

Remove pan from heat. Let cool naturally till milk is 120

For Pete's sake, don't put jars of hot milk into ice water to cool them faster. It will cause them to crack

Yogurt after draining
Stir the honey into one jar - it should taste sweet but not cloying

Stir the chocolate into the other jar - it will taste like hot cocoa

Stir 3/4 t yogurt culture into a a few tablespoons of the milk from one jar. Once it is mixed, stir it into the whole jar.

Repeat with the other jar.

Place lids on jars

Return the jars to the pot with the water. Put the pot containing the jars into a warm oven

My oven's minimum recorded temperature is 150. I have found if you set it between there and zero it will maintain a warm incubation overnight

Leave the milk for 8 hours, at which time it will have thickened into yogurt.

Refrigerate until cold.
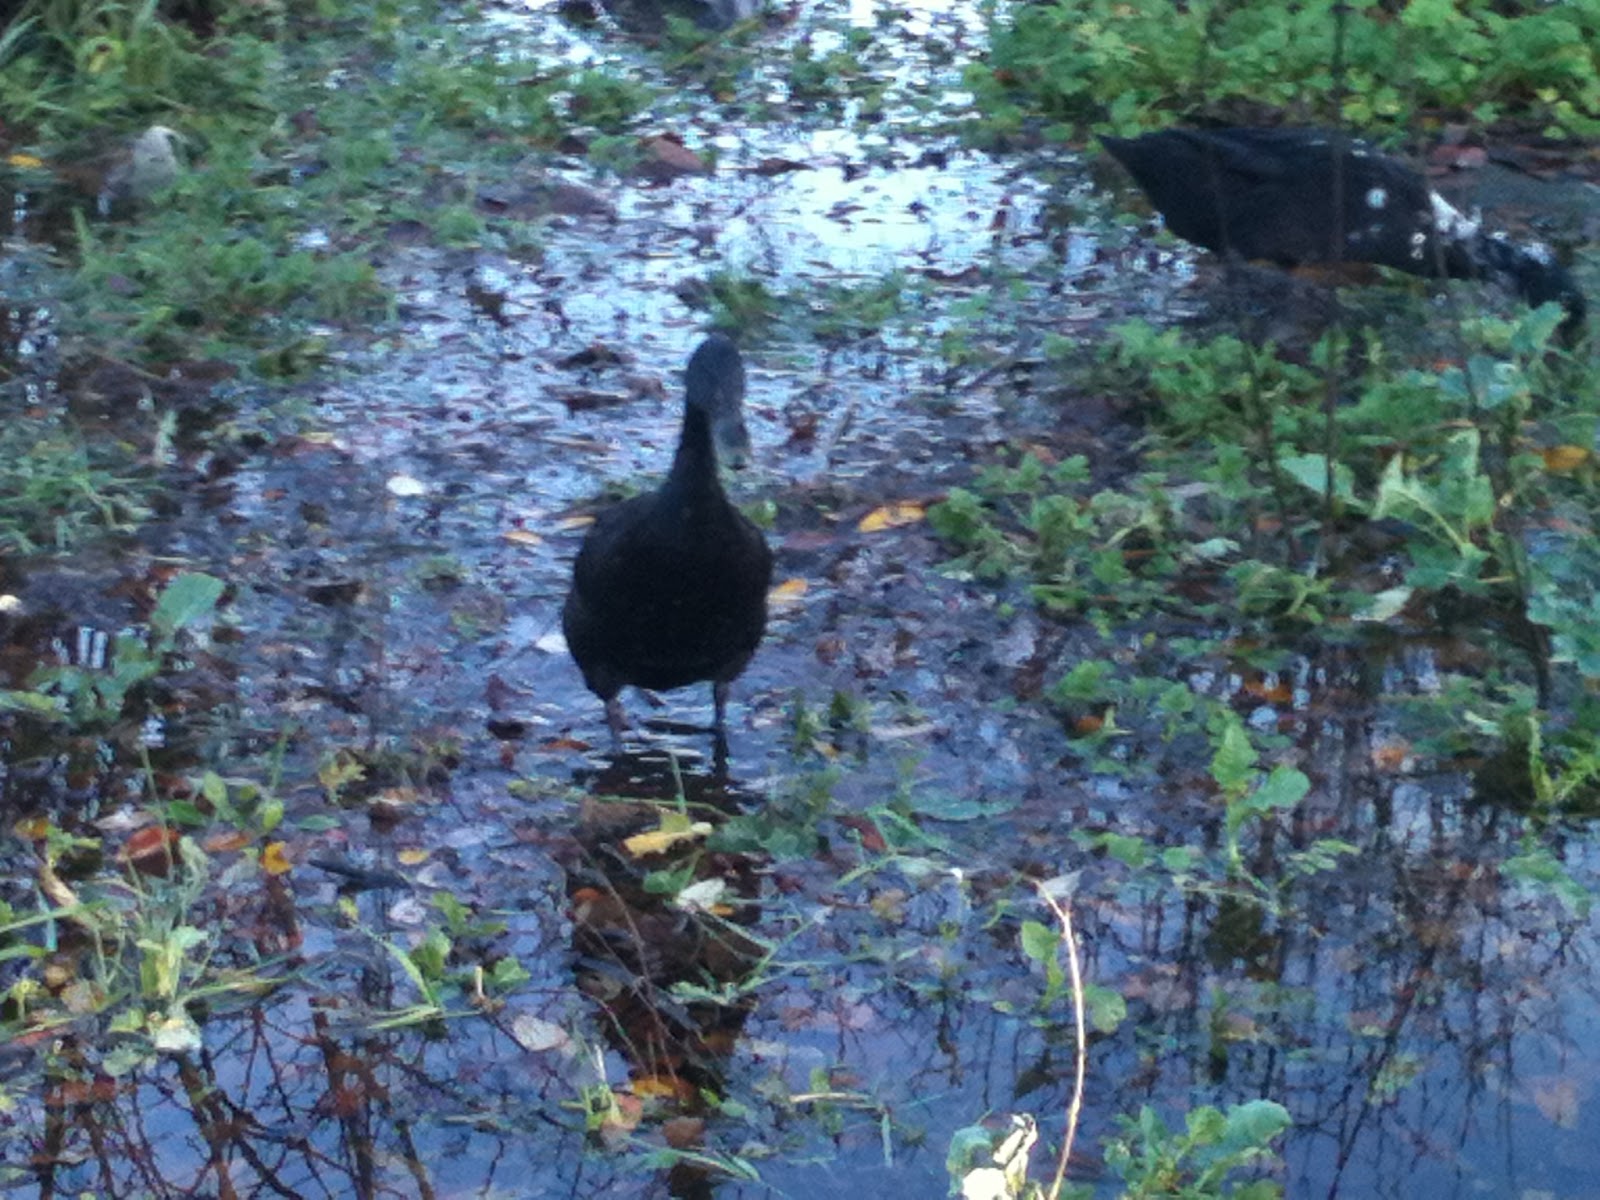
The ducks loved this whey

Line a sieve with a double layer of butter muslin, or with a large coffee filter.

Place a bowl underneath to catch the whey, and pour in the yogurt.

Check it every hour, and when it reaches the texture you want, spoon it into a storage container and refrigerate until serving time.

The whey can be used for baking or fed to livestock. This whey could probably serve as a sweetener for lemonade.


Taste Results

Honey yogurt

This is the best yogurt I've ever eaten. It tasted like the angel wings of baby kittens. It tasted like the Moonlight Sonata.


David said it was better than fancy schmancy yogurt from the store.


 Noah exclaimed that it was "fruity... ambrosial... I can taste how good the milk was. I love our goats!"


I could detect flavor notes from the flowers our bees had visited and the grassy orchard where the goats had browsed. It made me think I was outdoors feeling the warm breeze on my skin.

It tasted like a promise fulfilled. Yeah, it was milk and honey like the Good Book makes you think it will taste.

I will be making more soon. Maybe right now.

Chocolate yogurt

Sour and chocolate just don't belong together, especially when they are also sweet. This tasted fermented and abrasive and just nasty. Also, the cocoa solids sank during the yogurt culturing process leaving a pale brown yogurt with dark crud in it.

It looked exactly like something you find in a diaper. In a rare fit of good taste, I chose not to post my only photo of it.

The whey was sour, and looked like old coffee. I was not pleased with this yogurt. It almost made me not want chocolate for a few minutes!

It was that bad.

I will try making it again because I'm not easily deterred. I think the idea is good, I just missed something in the execution. I used the first soluble chocolate product that came to hand. This was a cheap and not very good chocolate syrup. Next time I will use honey and cocoa with a good dose of vanilla.

What I learned

You can make yogurt with flavored milk and get good results. The flavor will carry into the yogurt, though the sourness will modify it in unpredictable ways. The culturing process is not disrupted by adding ingredients.


Curry yogurt

After my first success, I tried again with curry flavors. Same routine, only I tried stirring in 1 tsp of my favorite blend of curry seasonings into a quart of milk. The yogurt turned a lovely, sunshine yellow with darker golden streaks. The flavor was perfect. The rawness that bothers me in turmeric was softened by the long soak in warm milk, leaving a smooth, satiny texture and a spicy but moderated flavor. The thick, creamy texture felt so rich in my mouth!

Also it was gorgeous dolloped on top of cooked greens, much prettier than cooking the curry and yogurt in with them.


Recipe:

Ingredients:

2 bunches spinach or spinach and mustard greens, stems removed
3 T neutral oil or ghee
1 tomato, chopped
1 small hot pepper or to taste, chopped
1 sweet red pepper, cut into strips (optional)
1/4 onion, chopped
salt and cumin to taste
6 oz paneer cheese or halloumi (less conventional but good), cubed into 3/4" dice
Flour for dredging
Curry yogurt from 1 quart of milk

Directions:

Pat cheese dry with paper towels or lint-free napkin
Lightly coat cheese surfaces with flour
Heat 2 T of the oil or ghee in a pan till nearly smoking
Fry the cheese, tossing and turning it to brown without sticking
Remove to a plate and set aside
Heat 4 cups of water to boil, and briefly blanch the greens
Drain, reserving 1 cup of cooking liquid.
Refresh greens with cold water, and squeeze out most of the extra moisture
Chop greens fine or pulse briefly in food processor.
Heat the remaining oil in the pan at medium. Saute onion and optional salt and cumin till onion is limp
Add chopped tomato, greens, optional sweet pepper and hot pepper.
Turn heat to low, and simmer fifteen minutes or till thick
Place greens in a bowl. Top with cheese, and serve with dollops of curry yogurt


What will I try next?

I know this yogurt flavoring technique would work for vanilla and brown sugar, maple syrup, or salted caramel. Could I make ranch dip this way? Or eggnog flavored yogurt? Coffee or Chai tea? Saffron? Maybe taco seasoned dipping yogurt? What, oh what, shall I try next?

Shared on townsend house,Foodie Fridays, wildcrafting-wednesdaysimple-lives-thursday


Friday, December 21, 2012

A tale of two boots

In Seattle's rainy December it's easy to forget that I ever felt sun on my face. The nights are long, the sun low in the southern sky during its brief visits, even at noon. At least some part of nearly every day, we get rain, sleet or falling slush.

The goats and the chickens feel about as excited as I do. Lightning is afraid of the dark, Jeannette  sleeps the day away. Meggie is stoical, as she so often is. The chickens find dry spots and just hunker down in them, occasionally foraging for the abundant worms that rise up out of the saturated ground.

The ducks, bless them, love this weather. 


They live for water, and their coats resist all attempts to dampen or chill. The back of the yard is under water.


Areas are barely submerged and swampy, others deep enough for them to swim around. They dabble about, fishing up sluggies and worms and unfortunate beetles that didn't get out before the rains. 

One night, they refused to come in. Maybe they would have been safe. Most predators would be less skilled in the water than they are, but I've lost ducks to raccoons before and I was taking no chances. Out I ran, boots sinking in the muck, to round them up.


By the time I got them all to bed, my feet were encased in big gray rubber bags of wet.

I drained my boots, blotted them out with a towel, set them in the mudroom and went to bed. Predictably, the next day they were as damp as ever.

I have a very good rapport with a wide circle of facebook friends. When my boots get wet, I tell people, and they make suggestions. There were two main schools of thought:


  1. Stuff dry, crumpled newspaper into the boots to absorb the water
  2. Let air circulate through the boots - doing nothing to obstruct the rapid flow of moist air out

People did not agree which method was better, and speculated at length. Both groups agreed I should do an experiment to see who was right.

My Experiment:

I filled both boots to the tops with water. I left them for ten minutes, to fully saturate any crevices. Then I held each boot by the heel and drained it for five minutes. 
two boots full of water, marinating in the sink

I weighed both boots. I assumed they both held as much water as they could and the difference was boot weight not water weight. I do not know if this was correct - it was an educated guess, I suppose.

I stuffed one boot loosely with newspaper, left the other one empty, and placed both on their sides, with their open tops directed at our heat register. 

I changed the newspaper at 12 hour intervals for 72 hours. I weighed the boots every 24 hours and at the end of the experiment. 

There are some problems with this setup. I wish I had weighed the boots at 4 hour increments for the first day. Perhaps I missed differences early on.

And I did not have an elegant way to determine whether the boots were bone dry at the end.


My Results:

Saturated weight
Weight – 24 hours
Weight – 48 hours
Weigh - 72 hr
Weight lost
Boot 1
 684
 636
 633
 632
 52 g
Boot 2
 635
 586
 585
 585
 50 g

I have forgotten how to determine if a number is statistically significant. Maybe someone out there can analyze this data for me.

My Conclusion:

To me, the results suggest that either method works equally well.  This was slightly surprising because the newspaper I removed the first day was quite damp. I expected it to have removed water from the boot, but evidently a similar amount evaporated from the other one.

Discussion:

What was interesting about this test, was that all of my friends, who had pretty strong opinions on which method would be better, were content to give up their theory if it proved incorrect. It was fun, and the stakes were low enough that they could comfortably admit defeat.

We need to be like this more often. We have to make real life decisions, sometimes analyzing evidence that is incomplete. I'm thinking about gun violence right now, but a week ago, before the horror in Connecticut, I would have been thinking of climate change, or the economy, or any of a number of real things that generate a lot of heated disagreement. In these situations, as surely as in the frivolous story of my boots, it is not important to enter an argument being right - it's important to be right in the conclusion. If this means abandoning old beliefs in the face of new evidence, so be it.

I shouldn't defend a position because it's "mine" but because I've thought about it and tested it in whatever way I can. I should welcome and listen to opposing ideas, and if they are right, I should adopt them. This is important to learn in lighthearted, silly moments, so that we can do it when it matters and is harder.


Of course, we have values, about the worth of life, the value of freedom, and our relationship to entities greater than ourselves. These values exist outside the realm of these inquiry. But they should also stand aside when we use inquiry to settle questions of fact.

Above all, we need to base our decisions on what we honestly conclude to be the case - not on what we hope, or what doesn't interfere with our plans, or what we inherited as belief systems from the past.


Regardless of our opinions, we need to spend time making sure they are actually correct.

Otherwise, we are sillier than a bunch of ducks.
    shared on: frugal-days-sustainable-ways

Saturday, December 8, 2012

Goat milking pump

Meggie - before milking
I enjoy the morning and night task of milking. It's always given me a special time with one animal; time to thank her for her abundance and for giving to us.

Meggie in particular is so undemanding. The other goats and the chickens vie for attention; milking is the one time of day she gets my undivided focus.

She is eating, which usually makes goats happy, but she seems to also relish the time spent together.

She is actually more OK with me milking  she was with her own babies after a certain age.


When I milk I do everything I can to keep myself and the goat calm, focused and happy.
I pat the goat, feed her, sing to her, and listen to her tummy gurgle contentedly as I milk.

Doesn't this look more comfortable?
Regardless of how they feel about being milked, it's got to be a relief to a goat to go from a full udder to an empty one. There can be well over a half gallon of milk in there! The pressure and weight are considerable. The goats always walk away from the milk stand lighter and happier.

But my tendons are another matter. After six years of milking , my wrists started to hurt.

I couldn't squeeze water out of a sponge without excruciating pain. My friend Mellow gave me some exercises to help, but I knew the real answer was to give myself a break from the repetitive motion.


When we saw a DIY milker featuring a vacuum pump designed for brake bleeding, we knew we had to try one ourselves. This is a manually powered pump, so I wasn't sure it would reduce the stress on my arms, but if I didn't try it, I was in danger of becoming totally unable to use my hands. So, we got the parts and made one. Here Noah tries it out (with soapy water and food coloring).
Noah pumping soap/food coloring to learn how it works
It was pretty simple. Everything was off the shelf except for the lid to the mason jar, which we had to modify.

Basically, the vacuum pump is connected by a 3/8" tube to the lid of a jar. A second tube connects to a pair of "teat cups", AKA two 60 cc syringes, which fit over Meggie's teats and form an airtight seal. The tubing is connected with aquarium airline connectors.

Milker setup


I was excited to try this system, but I found myself putting it off day after day. Which anyone who knows me will say is odd. Usually I'm someone who can't wait to try a new contraption.

I was having a hard time accepting that this less 'natural' system would be as gentle as my hand milking. Part of me was sure the syringes would either hurt Meggie, or suck her entire udder into them. Or at least, that she would resent me for using a machine for such a personal thing as drawing her milk.

You're squeezing our teats with a what?!?


Neither one happened.With some trepidation, I sprayed teat cleaner on Meggie's udder, wiped her clean, and set up the contraption.

 I placed the cups on her teats, awkwardly holding them in place, and pumped the suction up to 10.


The teat only was pulled into the syringe until it formed an airtight seal, but no further. It appeared perfectly comfortable.


                                                                                                                                                                                                                 Meggie went on eating serenely as her milk began to draw down the tubing and into the jar. First a trickle, then a steady stream.

I have said it before.Meggie is the ideal goat. She is productive, calm, cooperative and gentle. I call her bomb proof. But I had expected some kind of reaction to having plastic cups suctioned onto her udder.

Nope. Nada. Nil. She just kept calm and carried on.


I don't think the phrase "kick the bucket" was coined to mean "to die" by accident. After hand milking an animal and having her spill, kick, step in or poop in her milk, a person might be ready to do something extreme.

But in our case, it's surely not Meggie's fault. Meggie's legs occasionally cramp from standing still, and she picks her feet up. Once in a while, she used to put them in the bucket of milk, ruining it. 

With the milking device, this will be a thing of the past. nothing to kick over!


 Another advantage to a milking device like this is, the milk never touches anything but the inside of the tubing and the jar. A barn, no matter what, is a barn. Spiders, straw, goat hair, flies in summer, dust, and you can imagine other things all end up there. Hand milking controls as much of the mess as possible, but the milker gives much more assurance that the milk will be clean. I love that. Even more, I love that once its going, I can step away from the milking process, at least long enough to get a picture of my happy, busily eating goat.


Then I bring the milk inside and put a new lid on the jar. I put the jar in an ice bath, clean the milker, and voila. Another batch of milk. A milker would be especially nice for anyone with a goat who had funny sized teats, or for anyone who, like me, found her hands getting tired from milking. So far, the repetitive movement of pumping the milker has been just fine. And the milk is splendid.


Sunday, November 25, 2012

A Greener Black Friday

As much as I don't want to, I have the desires of a consumer. I love shoes, hats, gloves and outfits. I'm a sucker for cool gadgets that do my housework for me. When I think about helping the environment, my mind spontaneously jumps to solutions that involve new stuff - solar panels, hybrid cars, low watt light bulbs. But while these things have their place, I believe that consuming got us into the environmental catastrophe we live with. I deeply distrust environmental solutions that involve buying our way out.

The day after Thanksgiving was a good day to start a road to buying less.  Black Friday, the biggest shopping day of the year, feels like a social event. We go out shopping as a community, to be around other people - it's bright, loud, fun and distracting.

I wanted to recreate that feeling of bustling activity, but in a more intentional way, focusing on taking care of what we already have instead of buying more things. The word stewardship seems to fit what I was looking for; a relationship with the world in which we strive to preserve the good things entrusted to us, instead of burning through them as fast as we can.


So this year, we celebrated Green Friday. I invited friends over for a mending and fixing party.

I had no idea how this would turn out. It had the potential to be either a hoot, or a serious failure.

Here I am, issuing an invitation to come sew on buttons, winterize rakes and shovels, sharpen knives, and generally do things we all put off because they are so unmotivating.

And to top it off, the invitation read "potluck - bring leftovers"

It took chutzpah to ask for this, but it paid off.

My younger brother selected the job of seasoning cast iron.

He took our crusty, rusty pans and scoured them with steel wool and green scrubbies.

Then he dried them well, heated them on a hot burner, and oiled them heavily.


There was a little smoke, and the smell of burning oil and hot metal.


And then the pan became glossy, black and clean.


A cast iron pan is like a phoenix, renewing itself by plunging into the fire.

 I knew this once, and seeing my brother clean this pan reminded me.


Thanksgiving week means rain in Seattle, and this year was no exception. I don't know what I was thinking, including garden tool restoration on the chore list.

This involves sanding the entire tool, wood and metal, wiping it clean with a dry rag, which soon becomes filthy with rust, and then covering the whole tool with several coats of linseed oil.

There is abundant red dust, and the oil smell is strongly fishy, not to by tried indoors. One spill and the house is marked.


Our amazing neighbors Corey and JJ asked to learn with our tools. They settled onto a bench out in the barn, and cleaned.

I felt  inhospitable for placing them out in the hay with the animals, and having them clean my stuff.  But they cleaned everything, then went home to start on their own tools. Eventually they were joined by other hardy souls lured out by the ever adorable ducks.


Madeline brought a troublesome knitting pattern she had been putting off trying.

Her goal was to use up all the odd bits of yarn, in one big, motley garment.
Cilla graded papers. This is her first year teaching ninth grade English. She is a scholar and a wise woman. But teaching kids who don't know or want to know the subject is really stretching her as a person.
Alas, there are no pictures of Nik making chain mail. This was a  surprisingly delicate job. He hooked together thousands of tiny metal links to form a fluid, comfortable looking metal mesh. It looked more like jewelry making than armor production. Nik started his project with ten thousand metal loops, and said he would need more. He should be busy for a while with this.

Meanwhile several kids sorted Pokemon cards. It may not seem like drudgery, but they had been putting this off, letting their cards get disorganized, and then wanting to buy more. Organizing helps them realize how many toys they already have, and appreciate them more. Possibly some trades were also negotiated.


But most people came to sharpen knives.
We already knew that many people put off knife sharpening. They either fear getting it wrong,  or  view it as something their dad did, but that contemporary humans are no longer able to - a lost art. 

This is very sad. A sharp knife is as much of a pleasure and as useful of a tool now as it ever has been. Sharpening a knife is a great place to start relearning those supposedly lost skills.

We use two stones - one coarse, one fine, and a leather strap. Party goers learned to grind the blade at an angle against the stones, rubbing away the blunt edge and creating a beveled surface so thin and sharp that a hair dropped on the blade is cut in half. 


It's always better to use a sharp knife.  It will put a smile on your face!


 Maya and Gary brought a mixer that needed new grease. This intimidated me. If they came to the party with a working mixer and left with a broken one, no positive event could turn the party around for me.

But it didn't intimidate Maya, Gary and David.

They had the lid off, the gears out, and new grease in place while I was finding a cinnamon stick to put in the cider.


 Some people buy fancy appliances and let them sit in the kitchen unused. Maya uses this mixer daily. She has used virtually every attachment. She doesn't think of it as a disposable item, and she didn't want it to be a mystery. She wanted real ownership - real understanding.

 We wanted that for our oven, too, but it didn't happen, at least not yet.

One burner is having ignitor problems. We thought - how cool would it be if we could fix it during a fixing party.

We didn't quite get it working again, but we will keep trying.


Overall, Green Friday was an outstanding success. People had fun while fixing things, and gaining a new appreciation and gratitude for the items they already have.

We will almost certainly do Green Friday again next year. I challenge others to try it too; I think you will enjoy it. It's a great way to share and teach skills, be with friends, and become better stewards.